Co-Authors Plus is a free WordPress plugin to manage multi-author blogs. If you accept guest posts from your readers and give them credit, you can use this free plugin to manage guest authors very easily. You don’t need to create a new user account for each new guest author.
Co-Authors Plus makes it very simple and easy to manage guest authors but this plugin is not for beginner WordPress users. Because you will have to edit your theme to properly display author information on each blog post.
After installing and activating this plugin, go to Go to Users > Guest Authors to add a new guest author. You can add the first name, last name, and all of the other standard information.
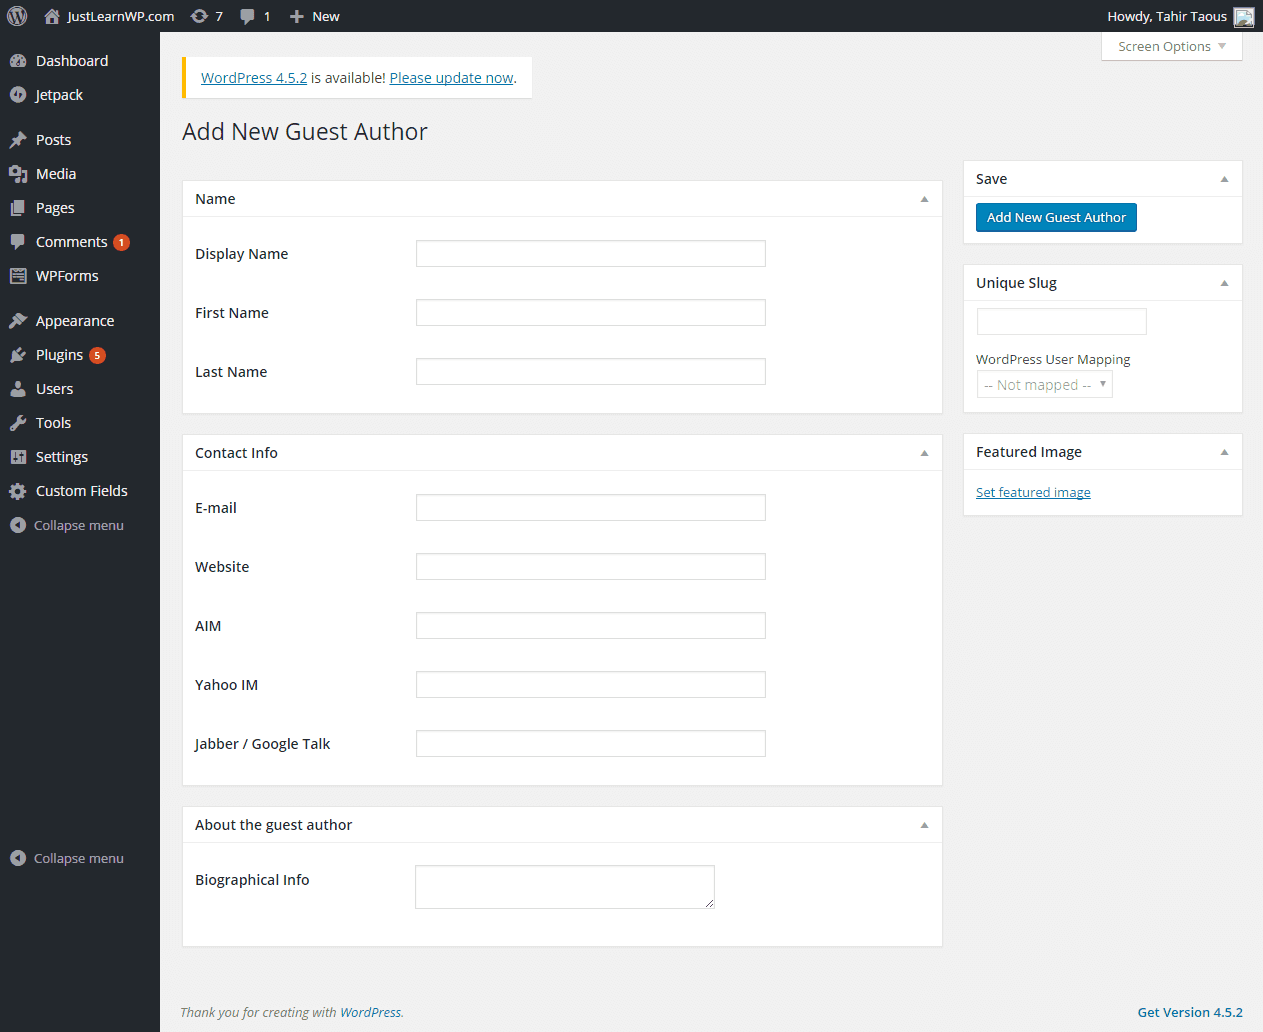
You can also add AIM, Yahoo IM, Jabber / Google Talk, but I think these fields should be replaced with Twitter, Facebook, LinkedIn, Google Plus, and other more popular social networks.
How to add/assign a Guest Author
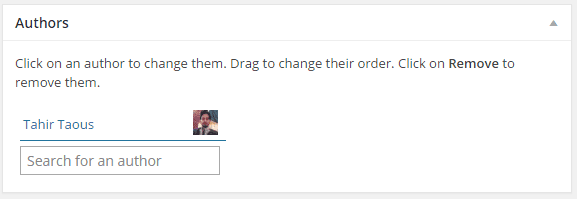
When writing a new post in the Dashboard, you will see a new Author module, You can search for an author, drag and drop to change the position of authors, or remove an author. You can also upload an image for your guest author. If they have a Gravatar account, Co-Author Plus will use the Gravatar image.
Editing your theme to properly display Author bio
After adding new guest authors, you can assign them to any blog post, but to display author info on the front end of your blog, you will have to edit your theme files. It is always recommended to create a child theme when you want to edit your theme files. In my case, I am going to edit biography.php and content-single.php in a child theme based on TwentySixteen.
If you don’t know about WordPress child themes, you can read this tutorial: How to create a WordPress child Theme.
Open your child theme folder, and create two new files: biography.php and single.php. If you are using Twenty Sixteen as a parent theme, then create a new folder in your child theme and name it template-parts.
Now you need to create two new files in template-parts folder. save these files as
biography.phpand
content-single.phpfile.
biography.php
Open your biography.php file and add the following code to it.
<?php
/**
 * The custom template in child theme for displaying Guest Author's biography: Using Co-Author Plus plugin. content-single.php has also been modified from line 42-51.
 *
 * @package WordPress
 * @subpackage Twenty_Sixteen
 * @since Twenty Sixteen 1.0
 */

if ( function_exists( 'coauthors_posts_links' ) ) {
    global $post;
        $author_id=$post->post_author;
        foreach( get_coauthors() as $coauthor ): ?>
            <div class="author-info">
                <div class="author-avatar">
                    <?php echo get_avatar( $coauthor->user_email, '96' ); ?>
                </div><!-- .author-avatar -->

                <div class="author-description">
                    <h2 class="author-title">About Author: <span class="author-heading"><a href="<?php echo get_author_posts_url( $coauthor->ID, $coauthor->user_nicename ); ?>"></a></span> <?php echo $coauthor->display_name; ?></h2>

                    <p class="author-bio">
                        <?php echo $coauthor->description; ?>
                        View all posts by <?php coauthors_posts_links() ?>
                    </p><!-- .author-bio -->
                </div><!-- .author-description -->

            </div><!-- .author-info -->
        <?php endforeach;
}
?>
Now we also need to edit content-single.php file to properly display Guest Author information on single post.
content-single.php
In your child theme, open content-single.php file and find this
<?php twentysixteen_entry_meta(); ?>line of code around line 40. You can delete this line of code or just comment it out. Twenty-Sixteen uses this line to display entry meta data: e.g date, category, and post tags.
Now add the following code just after entry_meta line.
<!-- Custom entry meta for single post to properly display guest author name on single post just below title on large screens -->
Date Published: <?php the_modified_time('F j, Y'); ?>
<hr>
Written by:
<?php if ( function_exists( 'coauthors_posts_links' ) ) { coauthors();
 } ?>
 <hr>
 Category: <?php the_category( ', ' ); ?> <hr>
 <?php the_tags( 'Tags: ', ', ', '<hr />' ); ?>
<!-- End custom meta entry -->
That’s it. Now create a new post and assign a guest author. Preview your post and you should see guest author bio at the end of blog post.
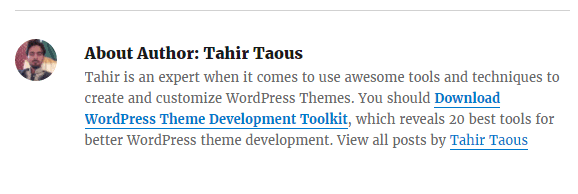
Guest-Author-Bio
You can see the final result in the screenshot above. I am also using CoAuthorPlus to manage guest authors on my blog and it is working well.
You can also download our sample child theme for this tutorial. Simply install and activate this demo theme on your testing WP installation to see CoAuthorPlus in action.