WordPress is a dynamic content management system that stores your website’s content – posts, pages, themes, and plugins – in a database.
And since the database contains important information (such as your login credentials), it’s no surprise that it is a popular hacker target. Hackers develop SQL injections, automated scripts, and other malicious code to attack various databases, break into websites, or publish spam comments. For this reason, it’s very important that you protect your database and create regular backups of it.
Fortunately, WordPress is very flexible and, by making small changes, you can secure your site’s database. Although there is no security measure that is guaranteed to be foolproof, you can still protect your site’s database from novice attackers simply by changing its default table prefix.
With this in mind, in this post, we’ll walk you through a step by step tutorial to show you how you can change the WordPress database prefix.
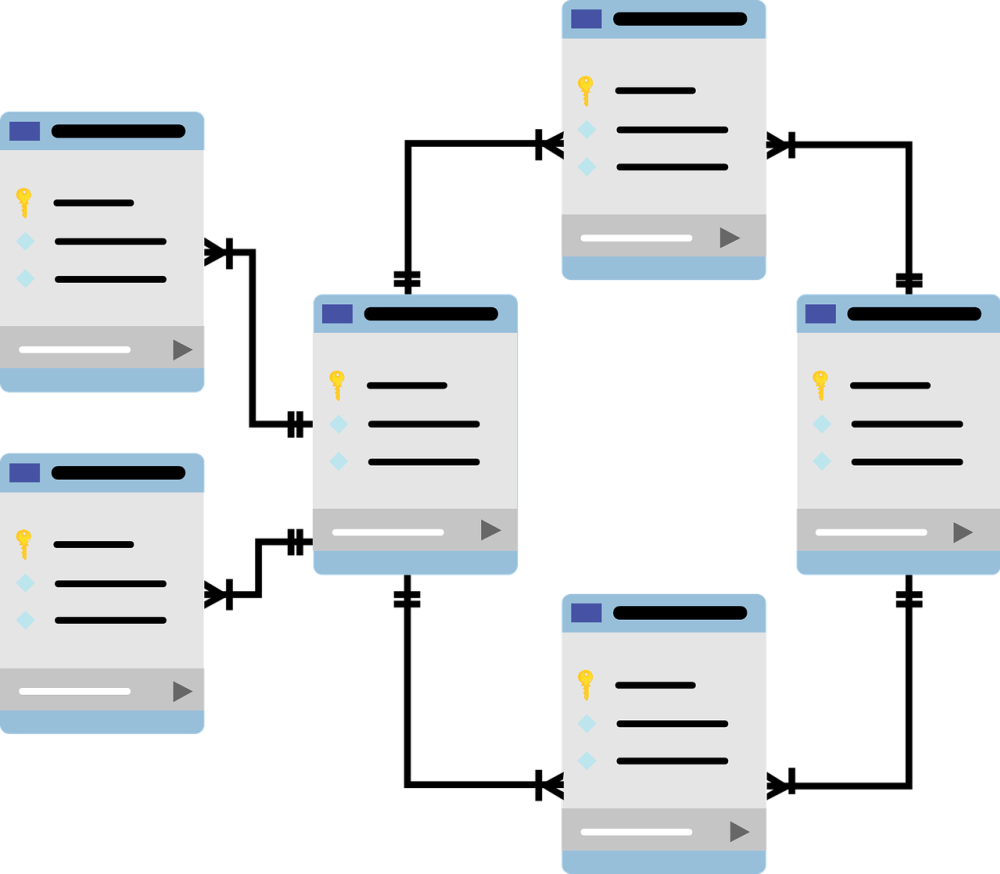
A Look at the Default WordPress Database Tables
When you install WordPress, it creates 12 tables in the database each with the wp_ prefix. Many people don’t change the database prefix when they install WordPress on their website. Hackers know this and they exploit it perfectly.
The good news is that you can change the default table prefix to something that’s vague and difficult to guess – sort of like a secret key or a password. There are two different ways you can change your WordPress database’s tables depending upon whether you already have WordPress installed on your website or not.
Method 1: Changing the Default Database Table Prefix Before Installing WordPress
The easiest way to change the WordPress database prefix is before installing the CMS to your website. Before you install WordPress, navigate to the wp-config.php file and scroll down until you find $table_prefix = ‘wp_’;.
Append a password-like string of random characters to the existing prefix i.e. ‘wp_’, and you are good to go. For instance, you could go with something like ‘wp_a1b2c3d4’ so the whole line of code would be:
$table_prefix = 'wp_a1b2c3d4';It’s important to keep in mind that since you’re changing a database table’s name, you’re only allowed to use letters, numbers, and underscores. Once you’ve changed your database prefix to something that’s difficult to guess, save the wp-config.php file and continue installing WordPress to your website.
There is no hard and fast rule to this. Use whatever prefix you like. The main idea is to make your tables’ prefix hard to guess and it is much easier to do if you follow the steps outlined above before installing WordPress to your website.
However, if you’ve already installed WordPress on your website, you can still change its prefix and secure your database.
Method 2: Changing the Default Database Table Prefix After Installing WordPress
If you’ve already installed the WordPress CMS to your website, you can change the default database prefix by following these steps:
Step 1: Before You Begin
Since we’ll be making changes to the wp-config.php file, it is highly recommended that you create a full backup of your WordPress database before changing the table prefix. If you get a lot of traffic on your website then it would be a good idea to redirect your site’s visitors to a temporary maintenance page.
Step 2: Change the Default Table Prefix
Open up your wp-config.php file located in your WordPress root directory. Scroll down until you find the table prefix line i.e. $table_prefix = ‘wp_’;. Change the database prefix from ‘wp_’ to something random like ’wp_a1b2c3d4’.
Keep in mind that since you’re changing a database table’s prefix, you’re only allowed to use letters, numbers, and underscores.
Step 3: Rename All WordPress Database Tables
Next, navigate to your WordPress database through phpMyAdmin and rename all of the table prefixes to the one you specified in your wp-config.php file. As we mentioned before, there are a total of 12 default WordPress tables. One way to do that is to rename each table manually. But that take a lot of time. So, to make things faster, here’s a list of SQL commands that you can run to rename all 12 of the default WordPress tables:
RENAME table `wp_commentmeta` TO `wp_ a1b2c3d4_commentmeta`;
RENAME table `wp_comments` TO `wp_ a1b2c3d4_comments`;
RENAME table `wp_links` TO `wp_ a1b2c3d4_links`;
RENAME table `wp_options` TO `wp_ a1b2c3d4_options`;
RENAME table `wp_postmeta` TO `wp_ a1b2c3d4_postmeta`;
RENAME table `wp_posts` TO `wp_ a1b2c3d4_posts`;
RENAME table `wp_terms` TO `wp_ a1b2c3d4_terms`;
RENAME table `wp_termmeta` TO `wp_ a1b2c3d4_termmeta`;
RENAME table `wp_term_relationships` TO `wp_ a1b2c3d4_term_relationships`;
RENAME table `wp_term_taxonomy` TO `wp_ a1b2c3d4_term_taxonomy`;
RENAME table `wp_usermeta` TO `wp_ a1b2c3d4_usermeta`;
RENAME table `wp_users` TO `wp_ a1b2c3d4_users`;
If you have plugins installed on your WordPress website then chances are you might have a few extra tables in your database. If so, simply rename them, too – either manually or by modifying one of the SQL commands given above.
In order to minimize the risk of a hacking attempt, it’s a good idea to rename all of your WordPress database tables that begin with the default prefix to something random.
Step 4: Modify the options Table
Next, we need to search the options table for any instances of the old, default prefix so we can replace them, too. Here’s an SQL query to save you some time:
SELECT * FROM `wp_ a1b2c3d4_options` WHERE `option_name` LIKE '%wp_%'The purpose of this is to find any options that begin with wp_ and replace them with the new prefix i.e. wp_ a1b2c3d4. Running this SQL query will return the wp_user_roles option in addition to any other options that might have been created by the plugins you’ve installed to your website.
Once you’ve found all of the options, rename them to the new prefix.
Step 5: Modify the usermeta Table
Similarly, search the usermeta table for any instances of the old prefix so that you can replace it with the new prefix. Here’s an SQL query to help you out:
SELECT * FROM `wp_ a1b2c3d4_usermeta` WHERE `meta_key` LIKE ‘%wp_%’Running this query returns all of the usermeta fields that begin with the wp_ prefix. Simply rename all of them to the new prefix.
Test to Make Sure Everything Works
That’s it! You’re all done and your website should be working properly. To double-check that everything functions the way it should, log in to your WordPress website’s back-end and test out the admin panel, create a dummy post (and page), and make sure your widgets work as they should on the front-end.
If everything looks good then you can rest assured that you’ve successfully changed your WordPress website’s default database prefix and your database is more secure than it was before.
Conclusion
Securing your database by changing the default prefix is a step in the right direction when it comes to fortifying your WordPress website against hacking attempts. By changing your prefix to something that’s random and difficult to guess, you can protect your database from SQL injections, automated scripts, and other malicious code.
Finally, remember to take regular backups of your WordPress website’s database. If something ever goes wrong, you can always restore the latest backup and minimize the extent of damage.
What other methods do you use to protect your WordPress database? We’d love to hear from you so let us know by commenting below!