The Windows Subsystem for Linux (WSL) is a compatibility layer that natively runs Linux binaries on the Windows 10 and Windows Server 2019 operating systems. It allows you to set up a Linux environment on Windows without having to install a virtual machine. With WSL, you can install any Linux distro you want on your Windows machine.
In this tutorial, we will show you step by step how to install the Windows Subsystem for Linux. Then, we will install the Ubuntu 18.04 (LTS) on top of WSL. But, first, let’s see what exactly you can use WSL for.
What Is the Windows Subsystem for Linux Good for?
The most important thing to know about the Windows Subsystem for Linux is that it’s not a virtual machine. Therefore, you don’t get access to a Linux desktop environment such as Gnome or KDE and you can’t run Linux desktop apps. You won’t need to set up a dual boot system, either, as WSL runs entirely on top of your Windows operating system.
However, you get access to the UNIX terminal in which you can run native shell commands and install command-line tools and packages using the apt-get package manager. WSL also makes it easier to work with programming languages that are not native to Windows such as Python and Ruby.
Besides, the Windows Subsystem for Linux makes it possible to run more than one Linux distros in your Windows desktop at the same time. For instance, you can use Ubuntu and Kali Linux simultaneously, and you can install both right from the Windows Store.
Requirements for the Windows Subsystem for Linux
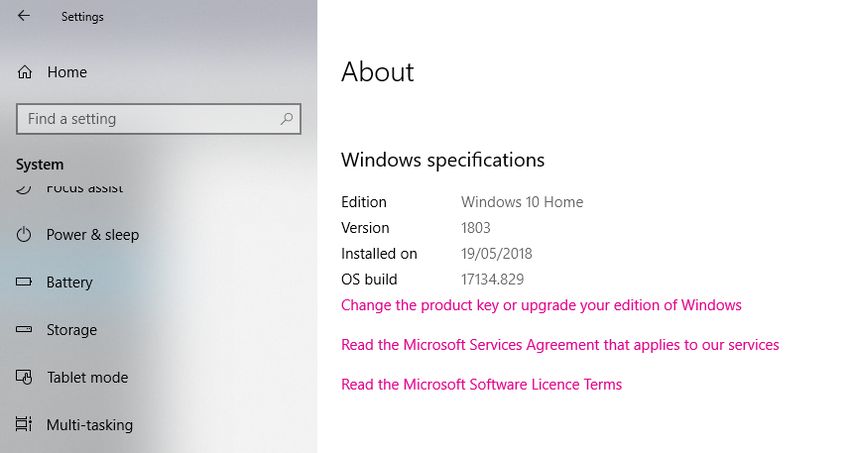
The Windows Subsystem for Linux only runs on newer versions of Windows 10 and Windows Server 2019. To use WSL, you need to have Windows build 16215 or a later version. On Windows 10, you can check your build number in the Settings > System > About menu. For instance, it’s 17134.829 in the example below:
On Windows Server 2019, run the following query in the Windows PowerShell:
systeminfo | Select-String "^OS Name","^OS Version"
1. Enable the WSL Feature
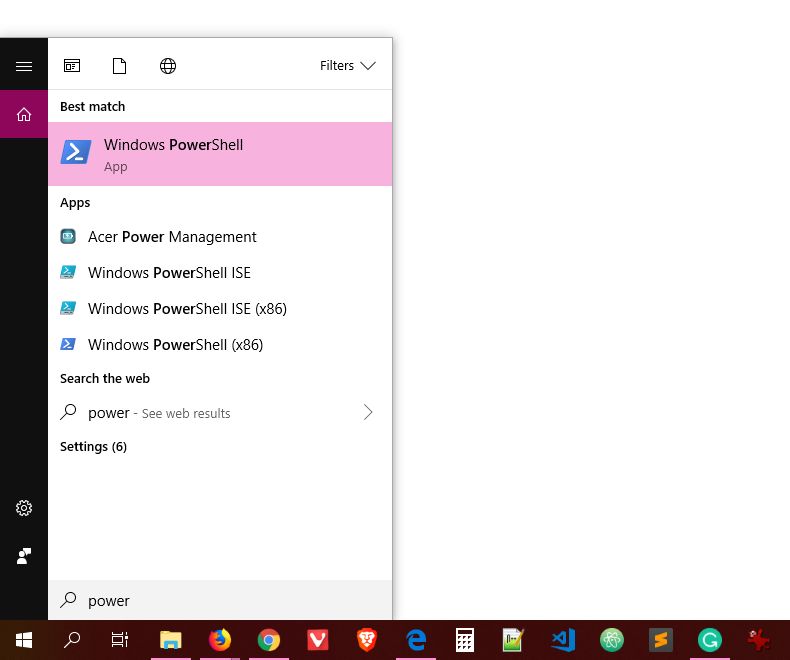
You can enable the Windows Subsystem for Linux feature right from PowerShell. Click the Start menu, find PowerShell, right-click the application, and select the “Run as administrator” option.
In Powershell, run the following command:
Enable-WindowsOptionalFeature -Online -FeatureName Microsoft-Windows-Subsystem-Linux
Sometimes Windows asks you to restart your computer, however, it doesn’t always happen. When the feature is enabled, you can install your chosen Linux distro from the Windows Store.
2. Install Your Linux Distro from Windows Store
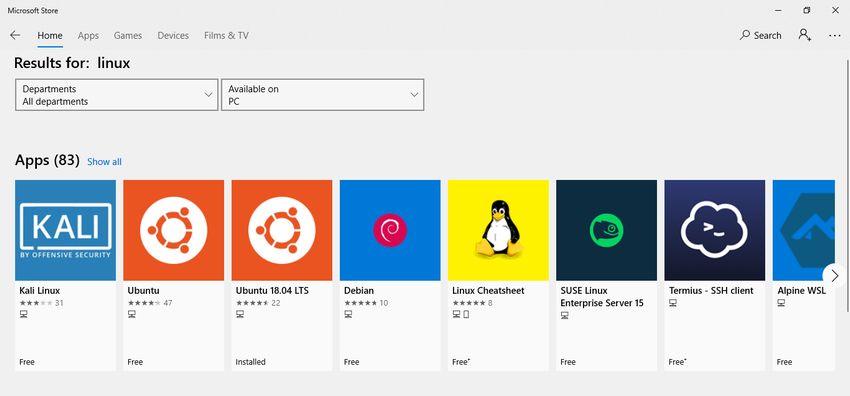
Open the Windows Store application from the Start menu and type “Linux” into the Search bar at the top right corner of the screen. Browse the Linux distros you have access to and find the one you want to install. In the example, we will use Ubuntu 18.04 LTS, as it’s a stable distro that comes with long-term support.
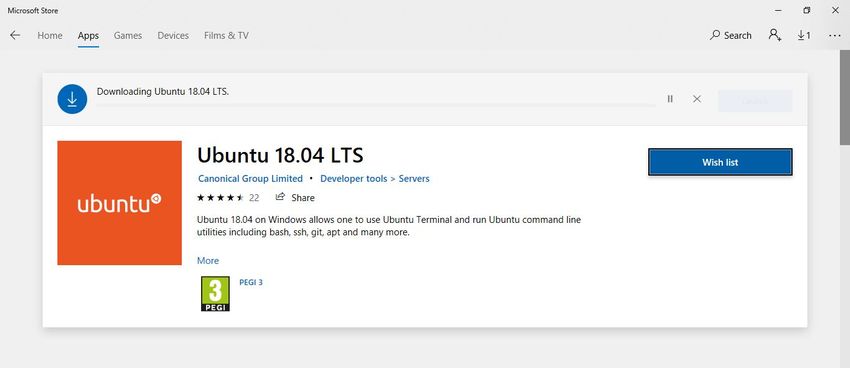
In Windows Store, click the “Get” button and download and install the Ubuntu 18.04 LTS application.
3. Run Your Linux Distro
Now, your Linux distro is up and running. You can launch it from the Start menu like any other Windows application. However, remember, that with the Windows Subsystem for Linux, you won’t get access to the Ubuntu desktop or any desktop-like application. You can only use the UNIX terminal, however, with all the command line tools, packages, and features of Ubuntu 18.04.
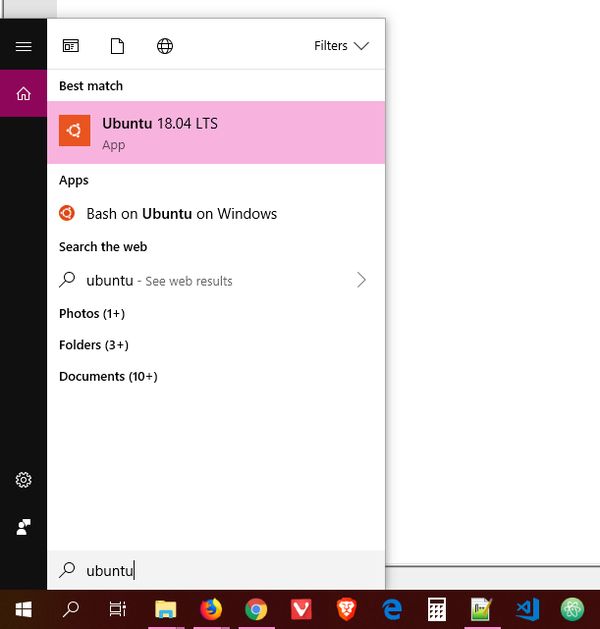
So, click the Ubuntu 18.04 LTS app in your Start menu that will open and run Ubuntu from the UNIX command line.
On the first launch, Ubuntu will ask you to specify your Linux username and password. These will be the credentials you will need when you want to run sudo-level UNIX commands. They are not related to your Windows username and password in any way, so you can choose between using the same credentials or setting up a new username/password combination.
4. Update and Upgrade your Ubuntu Packages
Before you start to use Ubuntu, you need to update and upgrade the system. This is what you would need to do on a real Ubuntu OS as well, and WSL works pretty much the same way. The following command takes care of both the upgrade and update of all your Ubuntu packages:
sudo apt update && sudo apt upgrade
Type the command into your new Ubuntu terminal and wait a couple of minutes until the upgrade is done.
5. Find Your Linux Files
So, where does the Windows Subsystem on Linux place your files inside your Windows OS? The location of the WSL-related file system has been changing since the launch of the software and can still change in the future, but as of July 2019, you can find it at the following path:
C:\Users\<your-username>\AppData\Local\Packages\CanonicalGroupLimited.Ubuntu18.04_<custom-code>\LocalState\rootfs
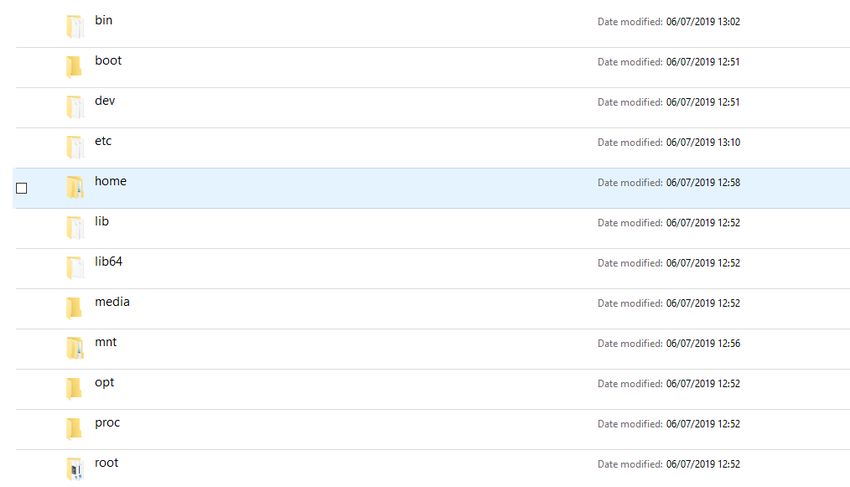
Even if the path changes in the future, your Linux file system will be most likely stored in the AppData/Local folder. On the screenshot below, you can see that it contains all the folders you can find in a regular Ubuntu setup, such as bin, boot, home, etc, lib, and others.
6. Consider Installing WSL 2
Microsoft released WSL 2, the new version of the Windows Subsystem for Linux just a couple of weeks ago, in June 2019. Although WSL 2 only works on the latest Windows build (needs build 18917 or higher), if you have already upgraded your OS, it’s worth considering installing it, too. Note that you already need to have WSL 1 installed on your machine to upgrade it to WSL 2.
WSL 2 comes with some significant changes compared to WSL 1. Most importantly, it changes how Linux binaries interact with the underlying Windows OS and hardware. You get access to an in-house built, open-source Linux kernel created using the latest stable branch available at kernel.org. This means faster operations, updates, and upgrades, full system call compatibility, and more.
To enable WSL 2 on your system, run the following command in PowerShell as Administrator:
Enable-WindowsOptionalFeature -Online -FeatureName VirtualMachinePlatform
Then, connect your existing Linux distros to WSL 2 by running the following command in PowerShell:
wsl --set-version <Distro> 2
You can get the exact name of your Distro with the help of the wsl -l command. If you get stuck with the upgrade, check out Microsoft’s documenation about how to install WSL 2 on top of the Windows Subsystem for Linux (WSL 1).
Conclusion
Having access to the UNIX terminal and Linux-native command line tools, packages, and programming languages can help a lot in web development. You can use it to manage your local and remote network, set up a web server, and work with advanced technologies you can’t access from Windows such as the WordPress CLI.
If you want to learn more about how to work with Linux, have a look at our tutorial on how to use UNIX file permissions to increase security or check out our collection of the best Linux distros for programmers and developers, too.